AustLit

-
In semester 2, 2018, Cirrus was trialled as an LTI (Learning Tools Interoperability) plug-in for edX, following on from its LTI integration into Blackboard. As with Blackboard, some usability is available through edX, while some remains available only through the Cirrus website.
-
For an external LTI to operate in edX, we need permission to access users' emails (in order to identify users and attach them to the relevant work.)
To use Cirrus in your edX course, first contact the UQ edX team to have your course enabled. Please note that this should be done in advance, as the time frame does vary.
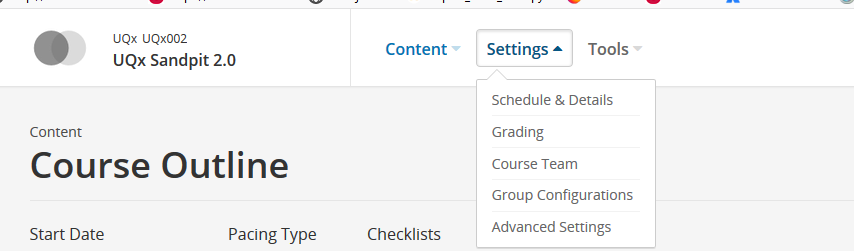
Once your course has permission for an external LTI, go to your course page, and from the top menu, select Settings and then Advanced Settings.
-
-
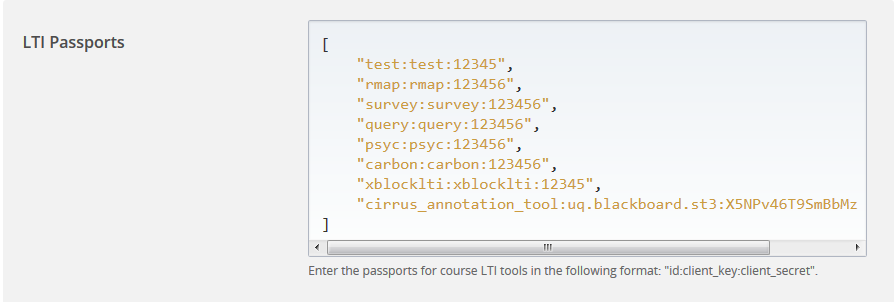
In the section labelled LTI Passports, insert the following:
cirrus_annotation_tool:uq.blackboard.st3:X5NPv46T9SmBbMz8m6J
-
-
Save, and your course is ready to accept Cirrus assessment tasks.
Note: These steps only need to be completed once per course, not once per Cirrus task.
-
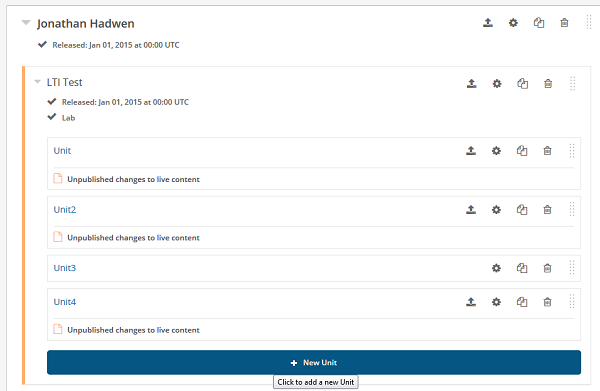
Create a new subsection, and then click +New Unit.
-
-
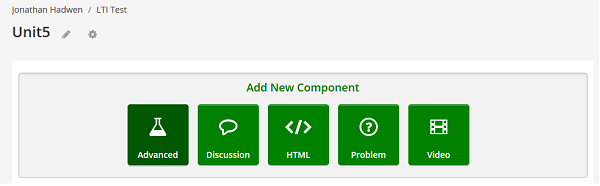
Click the Advanced button.
-
-
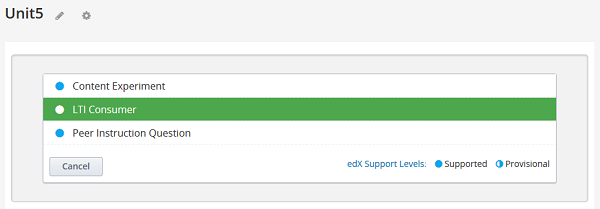
Then select LTI Consumer.
-
-
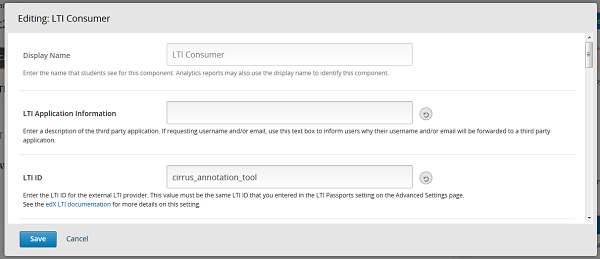
And click the Edit button.
-

-
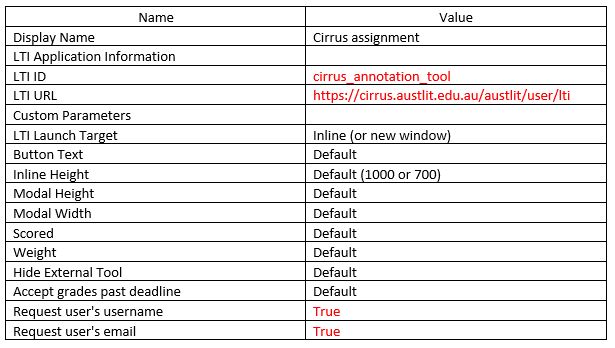
To insert the Cirrus information, follow the table below. Note: text in black is autofilled, where text in red requires your input.
-
-
-
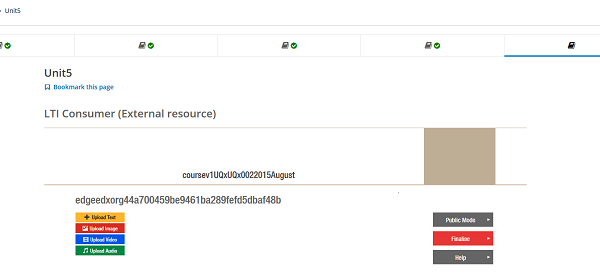
After setting up Cirrus information, click Preview on the right-hand top of the page to upload assignment.
-
-
You can change assignment title by double clicking on the current title.
-
-
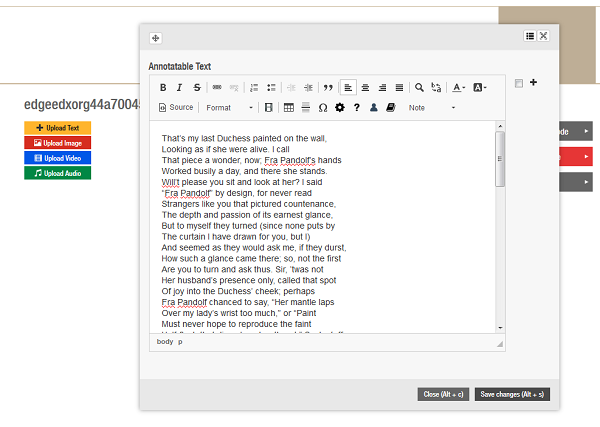
To add the content for annotation, use the coloured buttons to the left of the screen. For example, to add text for annotation, select the yellow button and paste text in the window.
-
-
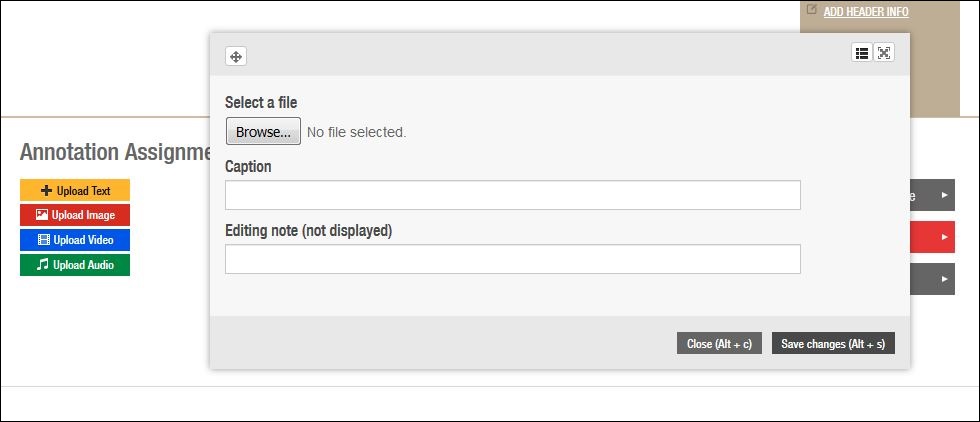
To upload video, audio, or images, select the relevant button and then browse to select the relevant file.
-
-
The final step is to finalise the annotable material.
Note: once the assignment has been finalised, it cannot be edited. Only finalise the assignment once you are satisfied that it is complete and accurate.
-

-
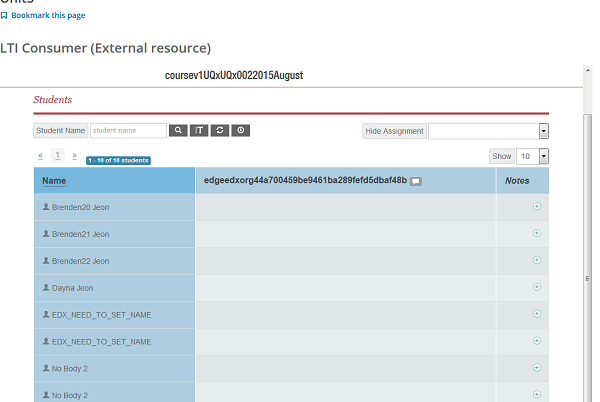
Once the assignment has been created, you will see a table with a list of student names and links to their annotations.
Note: This table remains empty until students sign up to the course.
-
You might be interested in...
